Marie Callender’s Pie Crust Instructions: A Comprehensive Guide
Embark on a delightful baking journey, mastering the art of pie-making with insights into Marie Callender’s renowned crusts, exploring techniques and secrets for exceptional results!
Understanding Marie Callender’s Pie Crust Appeal
Marie Callender’s pie crusts consistently rank highly in taste tests, captivating bakers seeking convenience without compromising quality. The appeal lies in achieving a remarkably flaky texture, often compared favorably to homemade versions. Many appreciate the crust’s ability to hold its shape during baking, resisting unwanted shrinking or cracking – a common frustration with other store-bought options.
Consumers frequently highlight the crust’s versatility, suitable for a wide array of fillings, from juicy fruit pies to creamy pumpkin creations. The balanced flour-to-shortening ratio is a key factor, contributing to both tenderness and structural integrity. It’s a reliable choice for both novice and experienced bakers, offering a consistently good result and saving valuable time in the kitchen. This widespread positive reception explains its enduring popularity.
Key Characteristics of Marie Callender’s Crust
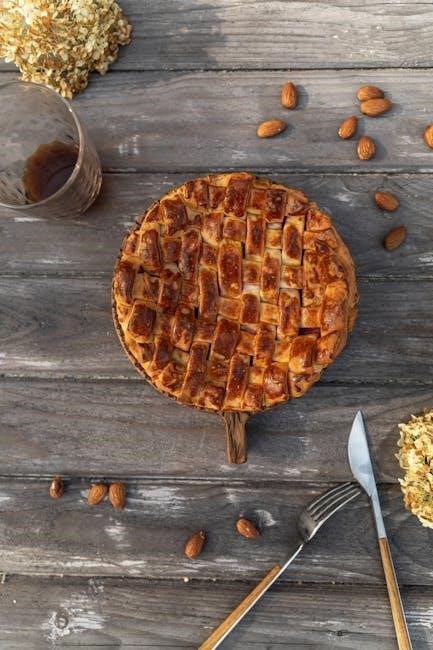
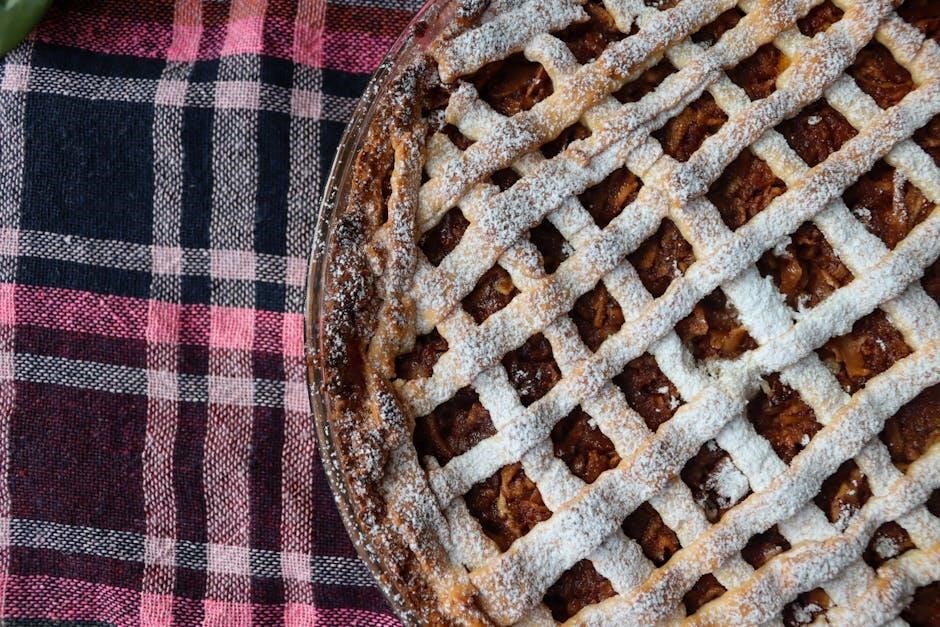
Marie Callender’s crust distinguishes itself through several defining features. Primarily, it boasts exceptional flakiness, achieved through a careful balance of ingredients and a likely layering technique during production. This results in a delightfully tender yet structurally sound base for any pie. The crust exhibits a golden-brown color when baked, indicating proper cooking and a pleasing aesthetic.
Furthermore, it demonstrates good resistance to becoming soggy, even when filled with juicy fruits. This is crucial for maintaining pie integrity. The crust’s flavor is subtly buttery, complementing rather than overpowering the filling. It’s also noted for its ease of handling, rolling out smoothly and fitting neatly into pie dishes. These characteristics collectively contribute to its reputation as a premium store-bought option.
Comparing Marie Callender’s to Other Store-Bought Crusts
When evaluating store-bought pie crusts, Marie Callender’s frequently emerges as a top contender. Blind taste tests reveal it often surpasses brands like Pillsbury and Kroger in terms of flakiness and overall flavor profile. While Pillsbury is praised for its ease of use and pristine appearance post-baking, Marie Callender’s delivers a more authentic, bakery-style texture.
Trader Joe’s crusts offer variety, but often lack the consistent quality of Marie Callender’s. Kroger’s options generally fall short in achieving the same level of tenderness and resistance to sogginess. Marie Callender’s excels in striking a balance between convenience and quality, making it a preferred choice for bakers seeking a reliable and flavorful foundation for their pies.
Pillsbury vs. Marie Callender’s: A Taste Test Comparison
In a direct comparison, Pillsbury’s pie crust prioritizes user-friendliness, boasting a remarkably easy handling experience and a visually appealing, almost flawless baked appearance. However, taste tests consistently demonstrate that Marie Callender’s crust offers a superior, more authentic flaky texture. While Pillsbury provides convenience, it often lacks the depth of flavor and satisfying crumble found in Marie Callender’s.
Bakers often note that Marie Callender’s crust more closely resembles a homemade quality, with a better ratio of flour to shortening. Pillsbury, while perfectly acceptable, tends to be slightly less flavorful and can sometimes feel a bit dense. For those prioritizing a truly bakery-style experience, Marie Callender’s emerges as the clear winner in this head-to-head comparison.
Trader Joe’s, Kroger & Other Brands: How Marie Callender’s Stacks Up
When evaluating various store-bought options, Marie Callender’s consistently distinguishes itself through its focus on achieving a genuinely flaky crust, a characteristic often missing in competitors like Trader Joe’s or Kroger’s offerings. Blind taste tests reveal that while other brands are serviceable, they frequently fall short of replicating the texture and flavor profile synonymous with Marie Callender’s pies.
Many bakers appreciate Marie Callender’s dedication to the proper flour-to-shortening ratio, contributing to its superior flakiness. While Trader Joe’s and Kroger crusts may offer affordability, they often compromise on quality. Marie Callender’s remains a preferred choice for those seeking a crust that delivers a more authentic, homemade-style result, justifying its position as a top contender.
Using Pre-Made Marie Callender’s Pie Crusts
Marie Callender’s pre-made pie crusts offer a convenient shortcut for bakers of all skill levels, allowing for quick and easy pie creation without sacrificing quality. These crusts are designed for versatility, suitable for a wide range of fillings, from classic fruit pies to creamy custard creations. Their pre-rolled format simplifies the process, eliminating the need for extensive rolling and shaping.
However, proper handling is key to maximizing results. Gently unroll the crust, avoiding stretching or tearing. Whether using it for a single or double-crust pie, ensure a snug fit within your pie dish. Remember to crimp the edges decoratively and consider chilling the assembled pie before baking to further enhance flakiness and prevent shrinkage.

Thawing and Preparing the Crust
Proper thawing is crucial when utilizing Marie Callender’s frozen pie crusts to maintain their delicate texture and structural integrity. The recommended method involves thawing in the refrigerator for several hours, ideally overnight, allowing for a gradual and even temperature increase. Avoid microwaving or using hot water, as these can lead to a soggy or unevenly thawed crust.
Once thawed, gently unroll the crust onto a lightly floured surface. If minor cracks appear, lightly moisten with water and press them together. Carefully transfer the crust to your pie dish, ensuring it fits snugly. Crimp the edges as desired, and chill for at least 30 minutes before filling and baking – this step is vital for preventing shrinkage!
Preventing a Soggy Bottom Crust
Achieving a crisp, golden-brown bottom crust is a common baking challenge, especially with fruit pies containing juicy fillings. Several techniques can combat sogginess when using Marie Callender’s crust. First, ensure the crust is thoroughly chilled before filling. A cold crust retards gluten development and minimizes moisture absorption.
Secondly, consider pre-baking the crust (blind baking – see next section) for a short period. Brushing the bottom crust with a lightly beaten egg white creates a moisture barrier. Finally, sprinkle a thin layer of breadcrumbs or finely crushed cookies onto the bottom before adding the filling; these absorb excess liquid during baking, resulting in a delightfully crisp base.
Blind Baking Techniques for Marie Callender’s Crust
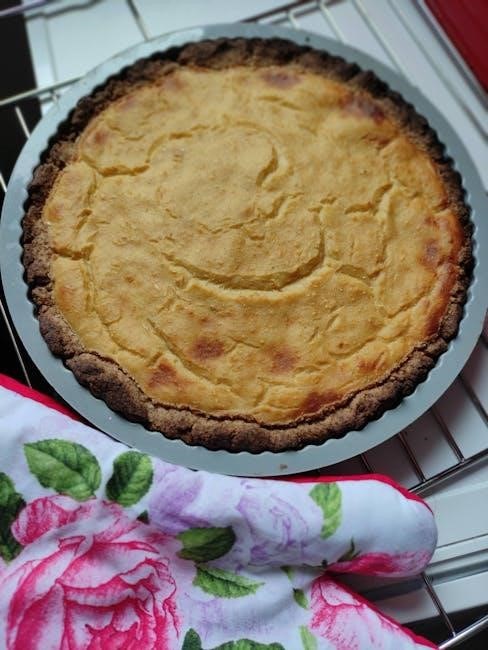
Blind baking Marie Callender’s crust – pre-baking it before adding the filling – is crucial for pies with wet fillings or those requiring a fully cooked base. Begin by pricking the bottom of the crust all over with a fork to prevent puffing. Line the crust with parchment paper, then fill with pie weights (dried beans or rice work well) to maintain its shape during baking.
Bake at 375°F (190°C) for approximately 15-20 minutes, or until the edges are lightly golden. Remove the weights and parchment paper, then continue baking for another 5-10 minutes to ensure the bottom is fully set and golden brown. This technique guarantees a firm, non-soggy foundation for your delicious pie creations.
Flaky Crust Secrets: Flour and Shortening Ratio
Achieving Marie Callender’s signature flaky texture hinges on the precise flour-to-shortening ratio. The key lies in maintaining cold ingredients and avoiding overmixing. A higher proportion of shortening, compared to butter, contributes significantly to tenderness and flakiness. Shortening inhibits gluten development, resulting in a more delicate crust.
While exact ratios are proprietary, replicating the texture requires a focus on keeping both flour and shortening chilled. Cut the shortening into the flour until the mixture resembles coarse crumbs. This creates pockets of fat that, when baked, melt and create layers, yielding that desirable flaky result. Remember, gentle handling is paramount!
Adapting the Crust for Different Pie Fillings
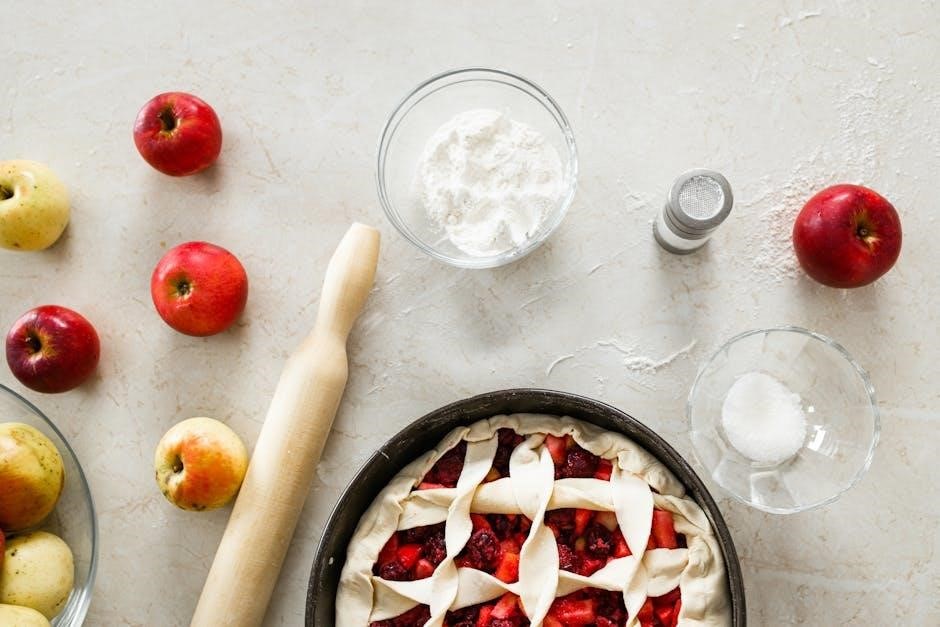
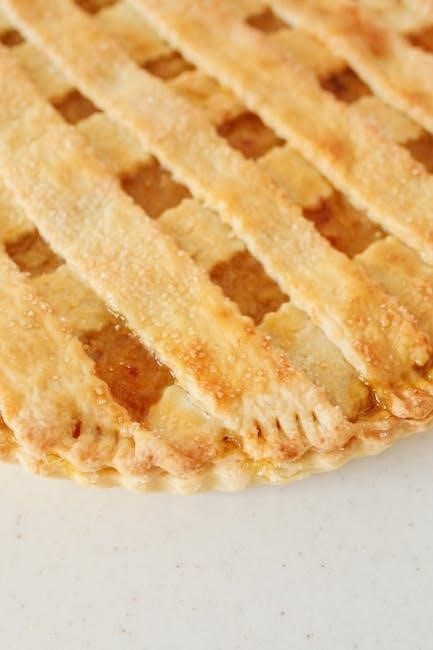
Marie Callender’s crust’s versatility shines when paired with diverse fillings, but slight adjustments enhance the final product. For fruit pies, particularly those with juicier fruits, consider a lattice top or vents to prevent a soggy crust. A pre-bake or blind bake can also help. Adding a tablespoon of cornstarch to the fruit filling thickens it, minimizing leakage.
Pumpkin pie demands a slightly different approach. The moist nature of pumpkin filling benefits from a fully baked crust to prevent a soggy bottom. Ensure the crust is thoroughly chilled before adding the filling; A sprinkle of cinnamon or nutmeg directly onto the crust before filling complements the pumpkin beautifully, elevating the flavor profile.
Fruit Pies: Adjustments for Juicier Fillings
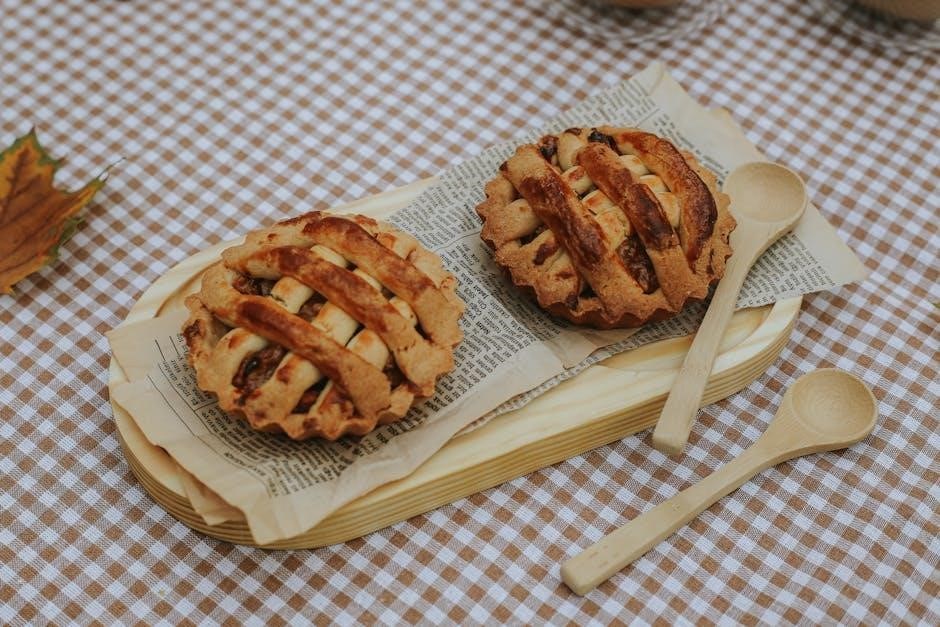
When crafting fruit pies with Marie Callender’s crust, managing juice is paramount. Berries, peaches, and apples release significant moisture during baking, potentially leading to a soggy bottom. To combat this, a lattice crust allows steam to escape, maintaining crispness. Alternatively, cut vents into a solid top crust for similar ventilation.
Incorporating a thickening agent like cornstarch or tapioca starch (about 1-2 tablespoons) into the fruit mixture absorbs excess liquid. Pre-cooking the fruit filling briefly can also reduce moisture content. Brushing the bottom crust with a lightly beaten egg white creates a barrier, further protecting it from sogginess. A sprinkle of breadcrumbs can also help absorb excess juice.
Pumpkin Pie: Achieving the Perfect Texture
For a truly exceptional pumpkin pie using Marie Callender’s crust, focus on achieving a smooth, creamy filling that isn’t overly wet; Quality pumpkin puree is crucial; avoid watery varieties. The spice blend significantly impacts flavor – a combination of cinnamon, ginger, nutmeg, and cloves is traditional, but adjust to your preference.
Ensure thorough mixing of the pumpkin puree, evaporated milk, eggs, and sugar to prevent curdling. A touch of molasses adds depth. Baking at a moderate temperature (around 350°F/175°C) and avoiding overbaking prevents cracking. The filling should be set around the edges but still have a slight wobble in the center. Cooling slowly is vital for a firm, yet creamy texture.
Troubleshooting Common Crust Issues
Encountering problems with your Marie Callender’s crust? Cracking often stems from too little moisture or overworking the dough. Gently handling the crust and adding a touch of cold water can help. Shrinkage during baking usually indicates stretching the crust too much when fitting it into the pie dish; ease it in gently.
If the edges brown too quickly, shield them with foil. A soggy bottom crust is a common concern; blind baking (pre-baking) the crust, or brushing it with egg wash before adding the filling, can create a barrier. Ensure the oven temperature is accurate, and avoid opening the oven door frequently during baking, as this can cause temperature fluctuations.
Crust Cracking During Baking
Cracking in your Marie Callender’s pie crust during baking is a frequent frustration, but easily addressed. The primary culprit is usually insufficient moisture within the dough itself. A dry crust lacks elasticity, making it prone to splitting as it expands in the oven’s heat. Gently incorporate a teaspoon of ice water at a time until the dough just comes together – avoid overmixing!
Overworking the dough also develops too much gluten, leading to a tough, brittle crust. Handle it delicately. Another factor can be a too-hot oven; ensure accurate temperature. Finally, rapid temperature changes can shock the crust, causing cracks. Pre-chill the dough thoroughly before baking.
Shrinking Crust During Baking
Pie crust shrinkage is a common baking woe, particularly with pre-made options like Marie Callender’s. This happens when the gluten strands in the dough contract as they bake, pulling the edges inward. To minimize this, avoid overworking the dough during preparation – gentle handling is key! Thoroughly chilling the crust before baking is also crucial; it relaxes the gluten and reduces shrinkage.
Blind baking, partially baking the crust before adding the filling, can help set the shape. Ensure the crust is properly docked (pricked with a fork) to allow steam to escape. Using a pie shield or aluminum foil strips around the edges during initial baking can also prevent excessive shrinking. Remember, a little shrinkage is normal, but these steps can significantly reduce it.
Recreating the Marie Callender’s Flaky Texture at Home (Inspired)
Achieving that signature Marie Callender’s flaky texture requires attention to detail, even when inspired by their method. The key lies in cold ingredients and minimal gluten development. Use ice-cold butter and shortening, cut into the flour until pea-sized pieces remain. Avoid overmixing; a slightly shaggy dough is ideal; Some bakers swear by incorporating a touch of vodka – the alcohol inhibits gluten formation, resulting in a tender, flaky crust.
Resting the dough is vital. Chill it thoroughly for at least 30 minutes, allowing the gluten to relax. When rolling, handle gently and avoid stretching. A precise flour-to-shortening ratio, mirroring Marie Callender’s approach, is also crucial for optimal flakiness. Experiment to find what works best in your kitchen!
Finding Rare & Popular Marie Callender’s Pie Flavors
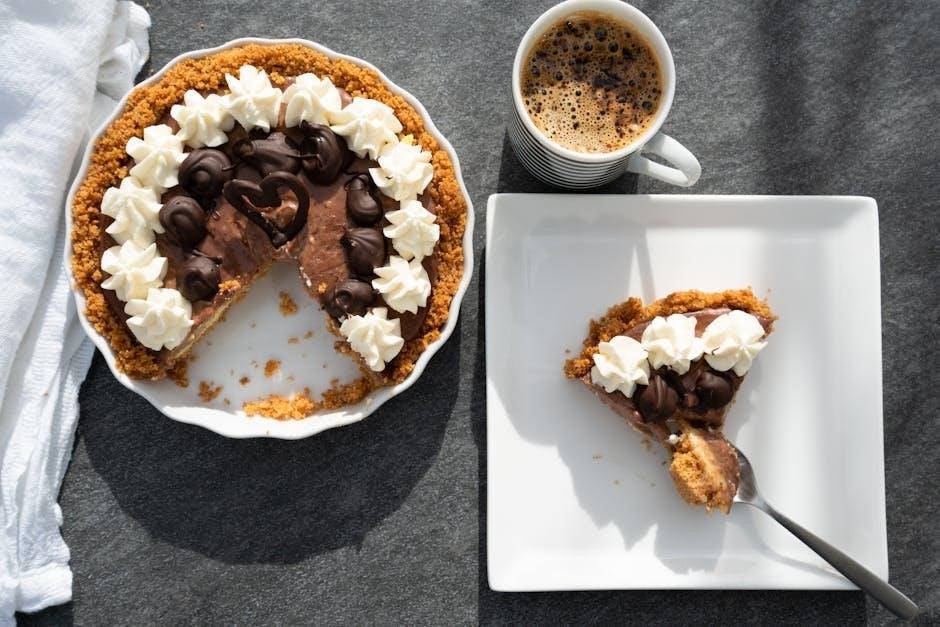
Marie Callender’s boasts a diverse range of pie flavors, with some becoming legendary among enthusiasts. While classics like apple, cherry, and pumpkin consistently rank as popular choices, certain limited-edition or regional flavors garner devoted followings. Coconut cream, chocolate cream, and banana cream pies frequently appear on “most loved” lists, often sparking online searches when temporarily unavailable.
Dedicated fans actively seek out rarer offerings, sometimes requiring travel or diligent store monitoring. Seasonal pies, like strawberry rhubarb in spring, are particularly coveted. Online communities and social media groups serve as valuable resources for locating these elusive treats, sharing tips on store sightings and availability. The quest for a beloved Marie Callender’s pie flavor can be a sweet adventure!
Where to Purchase Marie Callender’s Pie Crusts
Marie Callender’s pie crusts are widely accessible, offering convenience for bakers nationwide. Major grocery chains consistently stock them, including Kroger, Safeway, and Albertsons. Walmart and Target also frequently carry both the standard and deep-dish crusts, providing broad availability. For those preferring online shopping, retailers like Instacart and Walmart.com offer delivery or pickup options.
However, specific flavor availability and stock levels can vary by location. Checking store websites or utilizing store locator tools is recommended before making a dedicated trip. Occasionally, regional grocery stores may carry exclusive varieties or promotions. Dedicated Marie Callender’s fans often share store sightings online, creating a community-driven resource for locating desired crusts.