
Discover the fun and rewarding world of mitten sewing with free PDF patterns! Create cozy, customizable mittens using various materials like fleece, flannel, or recycled sweaters. Perfect for gifts or personal use.
What are Mitten Sewing Patterns?
Mitten sewing patterns are downloadable templates that guide you in creating custom mittens. These free PDF templates include measurements, shapes, and instructions for various styles, from simple fleece designs to intricate leather or fur mittens. They often come in multiple sizes, ensuring a perfect fit for kids and adults. Patterns may include step-by-step tutorials, making them accessible for beginners while offering customization options for experienced sewists.
Why Use a Free Mitten Sewing Pattern PDF?
Using a free mitten sewing pattern PDF offers a cost-effective and convenient way to create custom mittens. These patterns are easily downloadable and printable, providing instant access to various designs. They cater to different skill levels, from beginners to experienced sewists, and often include multiple sizes. Free PDF patterns allow for customization, enabling you to choose fabrics and styles that suit your preferences, making them ideal for personalized gifts or keeping hands warm during cold weather.
Benefits of Free Mitten Sewing Patterns
Free mitten sewing patterns are a cost-effective and accessible way to create custom mittens. They offer versatility, ease of use, and fit various fabrics and sizes perfectly.
Cost-Effective Option for Crafters
Free mitten sewing patterns offer a budget-friendly way to craft personalized mittens. They eliminate the need to purchase patterns, allowing crafters to focus on quality materials. With options for various fabrics like fleece, flannel, or recycled sweaters, these patterns are ideal for creating warm, cozy mittens without extra costs. This makes sewing mittens accessible and enjoyable for crafters of all skill levels and budgets.
Accessibility and Convenience
Free mitten sewing pattern PDFs are easily downloadable, offering instant access to a variety of styles and sizes. They cater to crafters of all skill levels, ensuring a seamless sewing experience. With detailed instructions and versatile fabric options, these patterns provide the flexibility to create mittens tailored to personal preferences. This convenience makes sewing mittens more approachable and enjoyable for everyone, regardless of their crafting expertise.
Customization Opportunities
Free mitten sewing patterns offer endless customization options. Crafters can choose fabrics like fleece, flannel, or recycled sweaters to create unique textures and styles. Patterns often include multiple sizes, from children to adults, and allow for personal touches such as cuffs, embellishments, or linings. This flexibility enables sewers to tailor their mittens to individual preferences, ensuring a perfect fit and personalized look for every project.
Materials and Tools Needed for Sewing Mittens
Fabric such as fleece or flannel, along with basic sewing tools like scissors, pins, and a sewing machine, are essential for mitten sewing.
Fabric Requirements for Mittens
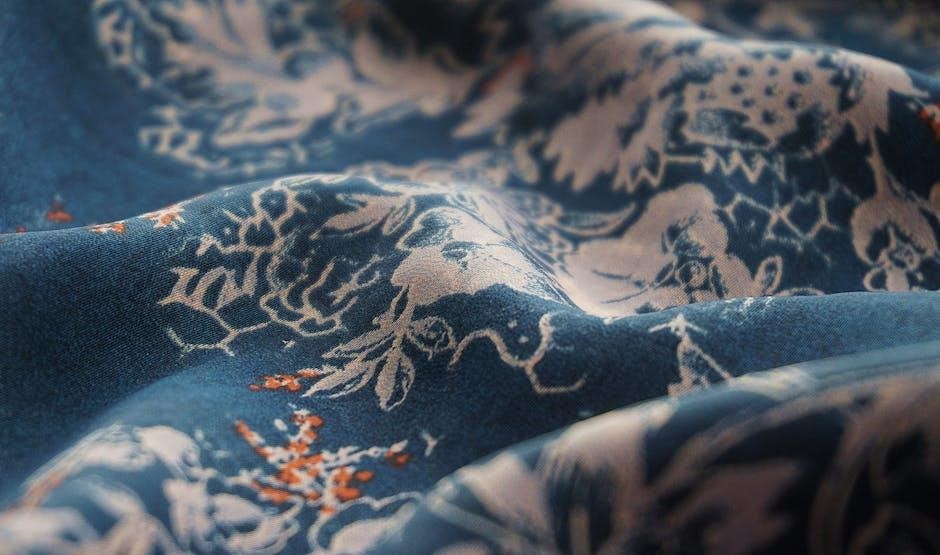
Choose fabrics that provide warmth and durability, such as fleece, flannel, or recycled sweaters. For a more luxurious feel, consider leather or fur. Ensure the fabric is thick enough to insulate but not too bulky for sewing. Cotton and wool blends are also excellent options. Select materials that match your desired texture and style, ensuring comfort and functionality for the mittens.
Essential Sewing Tools and Supplies
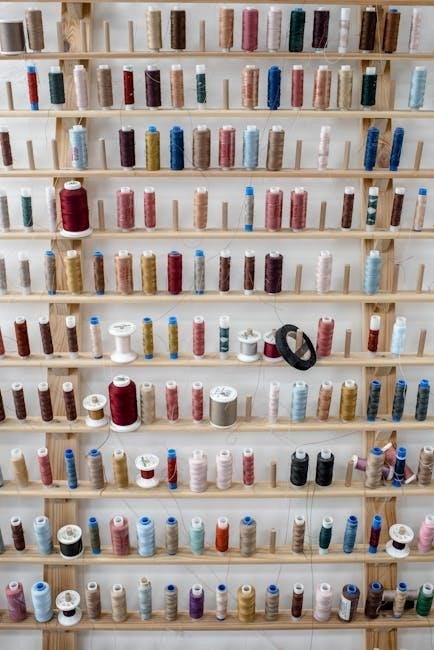
To sew mittens, you’ll need a sewing machine, sharp scissors, and a rotary cutter for precise fabric cutting. A measuring tape ensures accurate sizing, while pins and a seam ripper help with assembly. An iron is crucial for pressing seams, and sewing needles (sharp or heavy-duty) are essential for hand-stitching. Optional tools include interfacing for stability and thread to match your fabric. These tools will help you craft durable, professional-looking mittens.
Choosing the Right Mitten Sewing Pattern
Select a pattern that suits your skill level, desired style, and fabric choice. Consider size options, cuff designs, and features like lining or thumb placement for customization.
Factors to Consider in Selecting a Pattern
When choosing a mitten pattern, consider fabric type, skill level, and desired features. Ensure the pattern includes multiple sizes and clear instructions. Check for cuff style options, thumb placement, and lining possibilities. Look for patterns with customizable details like embroidery or decorative stitching. Ensure compatibility with your sewing tools and materials. Match the pattern complexity to your expertise for a successful project. Always preview reviews or tutorials for insights into the pattern’s ease of use and fit accuracy.
Popular Types of Mitten Patterns
Popular mitten patterns include fleece, flannel, and sweater mittens, each offering unique warmth and style. Fleece mittens are quick to sew and ideal for everyday use, while flannel mittens provide a cozy, rustic feel. Sweater mittens upcycle old sweaters into eco-friendly accessories. Other types include lined mittens for extra warmth, cuff-style mittens for a fashionable touch, and oven mitts for practical kitchen use. Patterns often feature embellishments like embroidery or decorative stitching, making them versatile for gifts or personal use. Choose styles that suit your skill level and desired functionality, ensuring a perfect fit for any occasion.
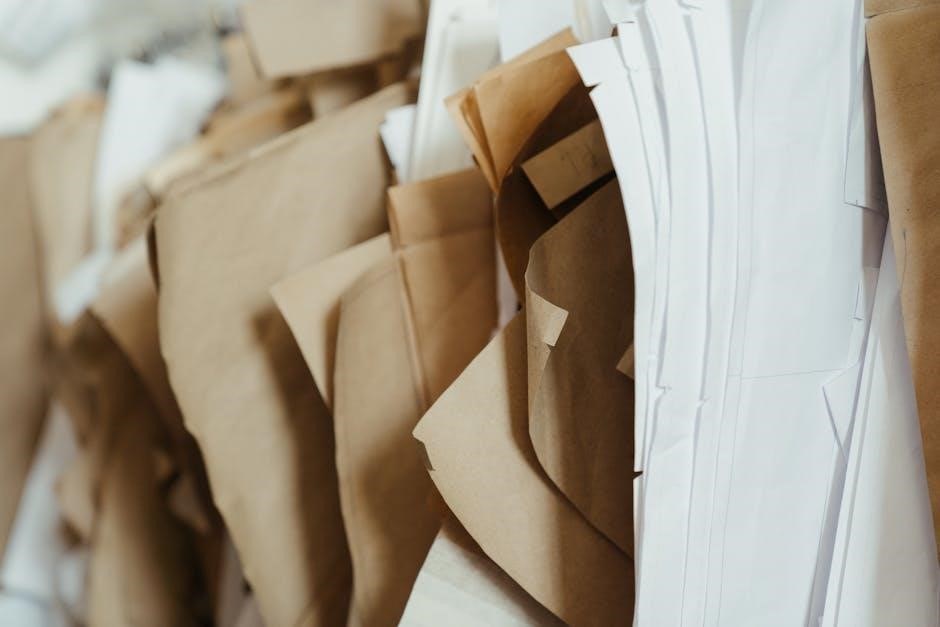
Downloading and Printing the Mitten Pattern PDF
Downloading free mitten sewing patterns is easy! Ensure your printer is set to 100% size to maintain accuracy. Print the PDF on standard paper for precise cutting and sewing.
How to Download Free Mitten Patterns
To download free mitten patterns, visit reputable sewing websites or blogs offering PDF downloads. Many patterns are available as free PDFs, often requiring email sign-ups for access. Ensure your device has a PDF reader installed. Some patterns may include multiple sizes, so choose the one that fits your needs. Always check the website’s instructions for downloading and printing. Certain patterns may require unzipping or extracting files after download. Print the pattern at 100% scale to maintain accuracy. For patterns with multiple pages, ensure all sheets are printed correctly. Test the fit by sewing a sample mitten before cutting your final fabric. This step ensures the pattern works well for your hand size. Store the PDF securely for future projects or share it with fellow crafters if allowed. Enjoy creating your cozy mittens with these easy-to-follow guides!
Printing Tips for Sewing Patterns
When printing mitten sewing patterns, ensure your printer is set to “Actual Size” or “Do not scale” to maintain accuracy. Use high-quality paper for durability, and verify the pattern’s test square to confirm proper scaling. For multi-page patterns, align pages carefully and tape them together without overlap.
Print in a well-lit area to ensure all markings are visible. Use a ruler to double-check alignment and measurements. Avoid using low-quality paper, as it may tear easily. If unsure, print a test page to verify scaling before cutting fabric.
Understanding the Mitten Sewing Pattern
Understanding your mitten sewing pattern is crucial for success. Familiarize yourself with markings, symbols, and instructions. Ensure proper fit by measuring and testing before cutting fabric.
Reading the Pattern Instructions
Reading the pattern instructions carefully is essential for a successful project. Start by understanding the layout, measurements, and required materials. Pay attention to seam allowances, stitching guides, and any specific techniques. Ensure you print the pattern at 100% size for accuracy. Review the step-by-step guide and familiarize yourself with symbols and abbreviations. Double-check fabric recommendations and sizing charts to achieve the best fit. Taking the time to thoroughly understand the instructions ensures a smooth sewing process and professional results.
Interpreting Pattern Markings and Symbols
Understanding pattern markings and symbols is crucial for accurate sewing. Look for grain lines, cutting lines, and notches, which guide fabric alignment and sizing. Symbols like dots or triangles indicate matching points or fold lines. Pay attention to seam allowances and directional arrows to ensure proper fabric placement. Familiarize yourself with these markings to avoid errors and achieve a polished finish. Clear interpretation ensures your mittens fit perfectly and look professional.
Step-by-Step Sewing Instructions
Start by cutting your fabric pieces according to the pattern. Sew the mitten pieces together, leaving an opening for turning. Carefully trim seams and turn right side out. Topstitch for a professional finish.
Cutting Out the Fabric Pieces
Start by carefully cutting out your mitten fabric pieces using sharp scissors or a rotary cutter and mat. Ensure accuracy by following the pattern lines closely. Use the provided measurements and grain lines to maintain proper alignment. Cut two mirrored pieces for the left and right hands to ensure a symmetrical fit. Double-check the pattern markings before cutting to avoid mistakes. This step sets the foundation for a well-made pair of mittens.
Sewing the Mitten Pieces Together
Once your fabric pieces are cut, carefully align and pin them together, ensuring the edges match perfectly. Sew along the marked seams using a 1/4-inch seam allowance. Use a sewing machine for efficiency, but consider hand-stitching for intricate details. Leave a small opening to turn the mittens right side out. Press the seams flat for a professional finish. Topstitch if desired for added durability and a polished look. Ensure the fit is snug and even before completing the project.
Adding Cuffs and Other Details
Add a cozy cuff to your mittens using leftover fabric or ribbing. Fold the cuff fabric in half lengthwise, sew the edges, and attach it to the mitten’s opening. For embellishments, consider adding decorative stitching, buttons, or embroidery. Reinforce stress points like the thumb with small patches. Topstitching can enhance durability and provide a polished look. These details make your mittens unique and functional, ensuring a perfect blend of style and comfort.
Customizing Your Mittens
Personalize your mittens with unique fabrics, colors, and embellishments. Choose materials like flannel, fleece, or recycled sweaters for a cozy look. Add decorative stitching or buttons for extra flair, making each pair truly one-of-a-kind and functional.
Choosing Fabrics for Different Looks
Selecting the right fabric is key to achieving your desired mitten style and functionality. Fleece offers warmth and softness, while flannel provides a cozy, rustic appearance. Recycled sweaters add an eco-friendly touch with unique textures. For durability, consider leather or fur-lined options. Each fabric choice not only affects the mitten’s warmth but also its aesthetic appeal, allowing you to create personalized and functional accessories tailored to any occasion or preference.
Adding Embellishments and Decorations
Elevate your mittens by adding unique embellishments like embroidery, appliques, or ribbons for a personalized touch. Use fabric paint to create intricate designs or motifs. Buttons and small patches can add charm, while quilted patterns offer texture and visual interest. Ensure decorations are securely attached and won’t interfere with the mittens’ functionality. These creative additions make your handmade mittens stand out, perfect for gifts or personal style statements.
Modifying the Pattern for a Perfect Fit
Achieve a perfect fit by adjusting the pattern to your hand size and shape. Measure your hand circumference and length to ensure accuracy. Adjust thumb placement for comfort and dexterity. Shorten or lengthen cuffs based on preference. Test modifications with scrap fabric before cutting your final material. These tweaks ensure your mittens are comfortable, functional, and tailored to your needs, making the sewing process more rewarding and the result more enjoyable to wear.
Tips for a Perfect Fit
Achieve a perfect fit by ensuring accurate measurements and proper pattern adjustments. Measure hand circumference and length to tailor the mittens for optimal comfort and functionality, ensuring warmth and dexterity.
Measuring Your Hands for the Best Fit
Accurate hand measurements are crucial for well-fitting mittens. Measure around the widest part of your hand (excluding the thumb) and from the wrist to the tip of the longest finger. Use these measurements to select the correct size from the pattern. Ensure the pattern is printed at 100% scale without resizing. Test the fit by sewing a sample mitten before cutting your final fabric, making adjustments as needed for comfort and dexterity.
Adjusting the Pattern for Different Hand Sizes
To ensure a perfect fit, adjust the pattern based on hand measurements. Lengthen or shorten the mitten body and finger section as needed. For wider hands, increase the palm width slightly. Use the included size chart or create a custom fit by comparing your measurements to the pattern. Make small adjustments incrementally, sewing a test mitten if unsure. This ensures comfort and functionality for any hand size or shape.
Troubleshooting Common Sewing Issues
Address common sewing challenges like uneven seams or fabric stretching by using stabilizers or adjusting tension. Ensure accurate pattern alignment and maintain consistent seam allowances for professional results.
Common Mistakes and How to Fix Them
Common errors include fabric stretching, uneven seams, or mismatched pattern pieces. To fix, use stabilizers for stretchy fabrics and ensure proper alignment. Check printer settings to avoid scaled patterns. Make a test mitten to verify fit and adjust seams as needed. Use a walking foot for smoother sewing and maintain consistent tension to prevent puckering. These tips help achieve professional-looking mittens with ease.
Handling Difficult Fabrics and Materials
Working with challenging fabrics like fleece or stretchy knits requires the right tools. Use a walking foot for even tension and stabilizers to prevent distortion. Pin slippery fabrics firmly and pre-wash materials to account for shrinkage. Choosing the correct needle size helps avoid tears. These techniques ensure smooth sewing and professional results when handling difficult fabrics and materials.
Finishing Touches for Your Mittens
Add a professional finish with topstitching and secure seams. Consider lining for warmth or insulation. Trim excess threads and ensure all edges are neatly enclosed for a polished look.
Topstitching for a Professional Look
Topstitching adds a polished finish to your mittens. Use a contrasting thread color to create a decorative edge or match the fabric for a subtle look. Start by stitching along the seams, ensuring a consistent distance from the edge. Backstitch at the beginning and end for durability. This technique not only enhances the appearance but also reinforces the seams, giving your mittens a professional and long-lasting finish.
Adding Lining or Insulation
Enhance warmth and comfort by adding a lining or insulation to your mittens. Use materials like fleece, thermal fabric, or even recycled sweaters for extra warmth. Sew the lining separately before inserting it into the mitten shell for a snug fit. This step ensures your mittens are cozy and durable, perfect for cold weather. Choose materials based on your needs, from lightweight options for everyday use to thicker insulation for extreme cold.
Care and Maintenance of Sewn Mittens
Keep your handmade mittens in great condition by washing them gently by hand and avoiding machine drying. Reshape while damp and store in a cool, dry place.
Washing and Drying Instructions
For handmade mittens, hand washing is recommended using mild detergent. Gently scrub and rinse thoroughly. Avoid machine washing to prevent damage. Air dry by laying flat or hanging to maintain shape. Reshape while damp to ensure proper fit. Store in a cool, dry place to preserve quality and prevent shrinkage. Avoid direct sunlight to protect colors and fabrics.
Storing Mittens to Maintain Shape
Store mittens in a cool, dry place away from direct sunlight to preserve fabric quality. Use breathable containers or cloth bags to prevent moisture buildup. Reshape mittens before storing to maintain their form. Avoid folding or creasing, as this can cause permanent damage. For long-term storage, consider placing them in a drawer or on a shelf where they can lie flat. This ensures your handmade mittens remain in great condition for years to come.
Sewing mittens is a fun and rewarding craft that keeps hands warm and brings joy. With free PDF patterns, explore endless possibilities and create perfect handmade gifts.
Final Thoughts on Sewing Mittens
Sewing mittens is a satisfying craft that combines creativity with practicality; With free PDF patterns, you can explore various styles and materials, from cozy fleece to elegant leather. It’s a great way to create personalized gifts or keep your loved ones warm. Whether you’re a beginner or an experienced sewer, mitten sewing offers endless possibilities for customization and creativity. Start your project today and enjoy the joy of handmade crafting!
Encouragement to Start Sewing
Don’t hesitate to dive into the world of mitten sewing! With free PDF patterns, you can easily create warm, stylish mittens for yourself or as thoughtful gifts. Whether you’re a beginner or experienced, sewing mittens is a rewarding project that allows creativity and customization. Take measurements, choose your fabric, and start sewing—there’s no better feeling than crafting something handmade to keep loved ones cozy. Begin your mitten-making journey today and enjoy the process!
Additional Resources
Explore free mitten sewing patterns on Pinterest and Craftsy for inspiration. Visit SewCanShe and Craftsy for downloadable PDFs and creative ideas to enhance your sewing journey.
Recommended Websites for Free Patterns
Find the best free mitten sewing patterns on websites like SewCanShe, Craftsy, and Pinterest. These platforms offer a variety of downloadable PDF patterns, tutorials, and inspiration for mittens in different styles and materials. Ravelry is another great resource for sewing enthusiasts, featuring user-friendly designs and tips for customizing your mittens. Explore these sites for endless creativity and practical guides to get started!
Online Communities for Sewing Enthusiasts
Join vibrant online communities like Pinterest and Ravelry to connect with fellow sewists, share ideas, and discover free mitten patterns. These platforms offer forums, tutorials, and inspiration for crafting unique mittens. Additionally, Sewing Parts Online and Craftsy provide resources and tips for optimizing your sewing projects. Engage with these communities to learn, grow, and showcase your creations!
Get Started with Your Mitten Sewing Project
Start your mitten sewing project today by downloading a free PDF pattern. Choose your fabric, print the pattern, and sew cozy, warm mittens for yourself or as gifts;
Downloading Your Free Pattern Today
Downloading a free mitten sewing pattern PDF is quick and easy! Visit trusted websites or sewing communities to find your perfect match. Ensure your printer settings are correct to maintain pattern accuracy. Choose from a variety of styles, such as fleece, flannel, or upcycled sweaters. Most patterns include multiple sizes for kids and adults, making it easy to customize. Follow the step-by-step instructions and start sewing your cozy mittens right away!
Sharing Your Finished Project
Sharing your finished mitten project is a great way to inspire others! Post photos of your handmade mittens on social media or sewing communities. Include details like the fabric used, size, and any custom touches. Use hashtags like #MittenSewing or #HandmadeWithLove to connect with fellow crafters. Encourage others to try the pattern and share their creations too!