Dododuck USB Charger Recorder: A Comprehensive Guide
Discover the Dododuck, a discreet recording device disguised as a standard USB charger; recent tests reveal evolving Bing search interfaces, impacting related search visibility.
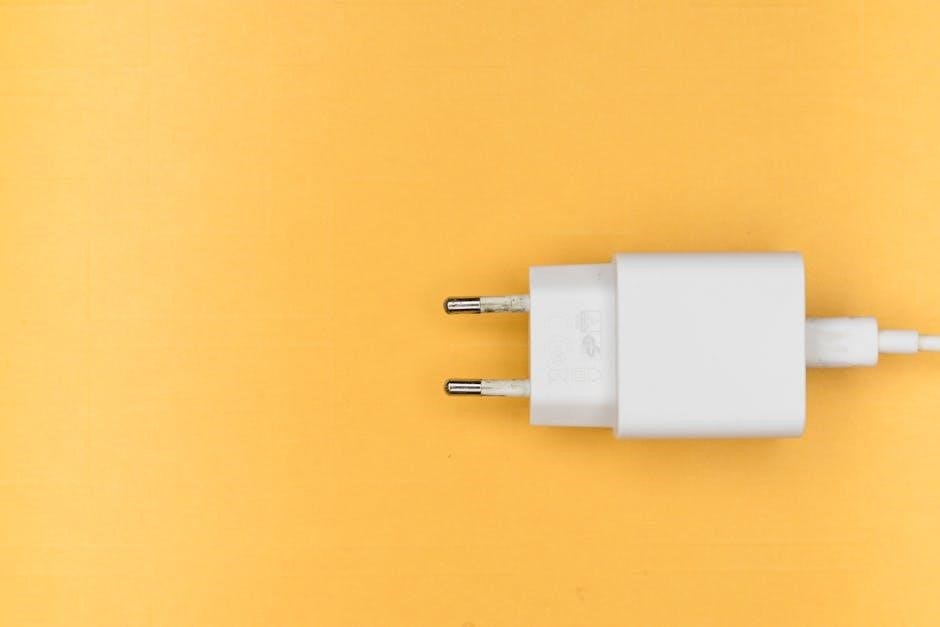
What is the Dododuck USB Charger Recorder?
The Dododuck USB Charger Recorder is a cleverly disguised audio recording device, appearing as a fully functional USB wall charger. This unassuming form factor allows for discreet surveillance and recording in various environments. Unlike traditional recorders, its primary function is to blend seamlessly into everyday surroundings, avoiding suspicion. Recent observations of search engine layouts, specifically Bing’s evolving related search placements – shifting from left-hand side prominence to boxed top-right or floating elements – highlight the importance of inconspicuousness.
The device’s core functionality revolves around capturing audio while simultaneously providing a usable USB charging port. This dual-purpose design is key to its covert operation. Microsoft’s ongoing tests with Bing’s sitelinks and related searches, including hover effects and alternative naming conventions, demonstrate a focus on user experience and information discovery. The Dododuck similarly aims to provide valuable information – in this case, audio – in a readily accessible, yet hidden, manner. It’s a tool designed for situations where unobtrusive audio documentation is required, mirroring the subtle shifts in how we access information online.
Key Features and Specifications
The Dododuck USB Charger Recorder boasts several key features. It offers high-quality audio recording, typically utilizing an internal microphone with a sensitivity range suitable for capturing conversations within a reasonable distance. Storage capacity varies by model, often employing internal flash memory ranging from 8GB to 32GB, allowing for hours of recording time. Power is supplied via a standard USB port, and it functions as a working charger, adding to its disguise.
Specifications generally include support for common audio file formats like WAV or MP3. The device’s physical dimensions are designed to mimic standard USB chargers. Considering the dynamic nature of online search, much like Bing’s recent tests with zoomable and sticky related searches, the Dododuck prioritizes user accessibility – in this case, ease of use and concealment. It’s a self-contained unit, requiring minimal setup, and its discreet nature is paramount. The device’s build quality ensures durability and long-term reliability, mirroring the robust infrastructure behind search engines like Bing.
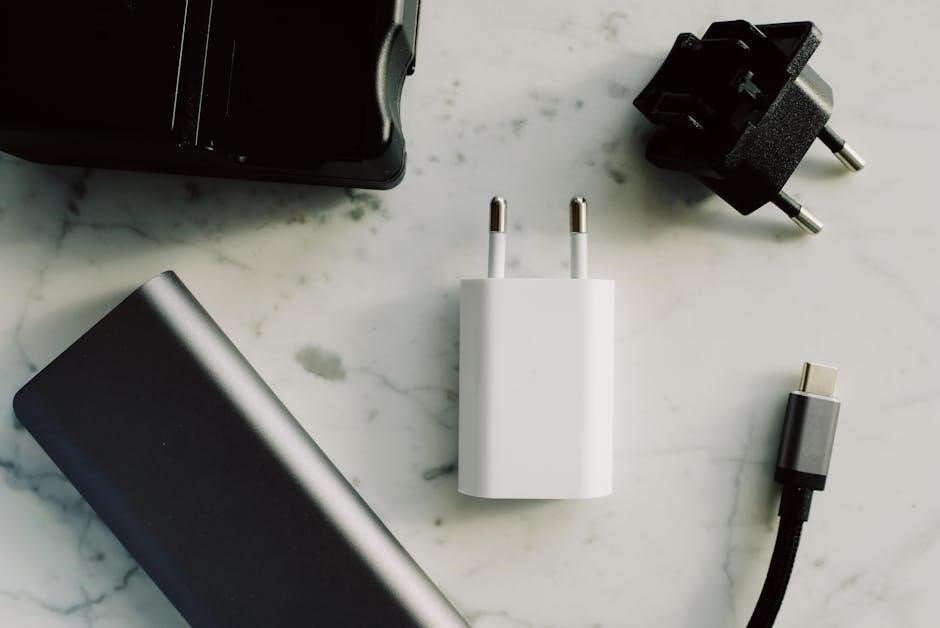
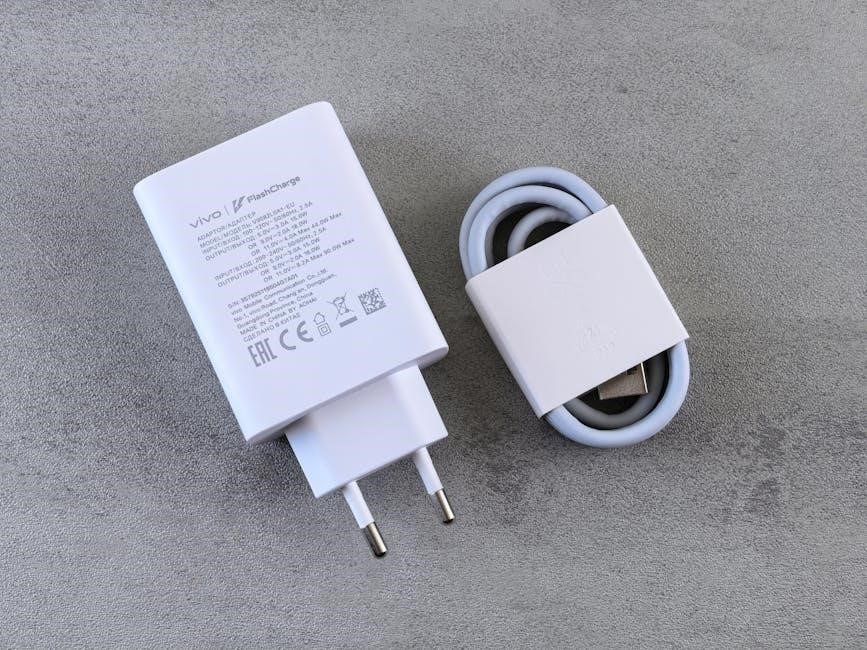
Unboxing and Package Contents
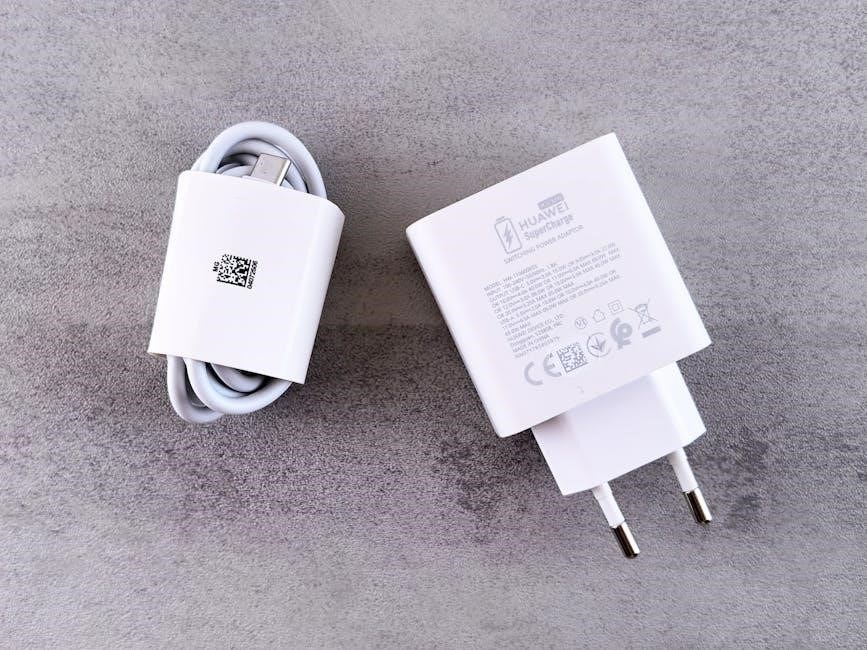
Upon unboxing your Dododuck USB Charger Recorder, you’ll find a meticulously packaged device designed for immediate use. The standard package typically includes the Dododuck unit itself, cleverly disguised as a functional USB wall charger. A short USB cable is provided for data transfer and, in some models, for initial charging. Crucially, a concise user manual is included, detailing operation and troubleshooting – though, like navigating Bing’s evolving related search interfaces, it may require careful review.
Additional contents may include a small reset tool for the device, and potentially, software installation media (CD or a link for download). The packaging itself is usually discreet, avoiding any overt indication of the device’s recording capabilities. It’s important to verify all components are present before proceeding, ensuring a complete and functional setup. The overall presentation reflects a commitment to user experience, similar to Microsoft’s focus on improving Bing’s search result presentation.
Setting Up Your Dododuck Recorder
Begin by fully charging the device; Bing’s related search tests show interface changes, requiring user adaptation, just as setup demands attention to detail.
Initial Charging and Powering On
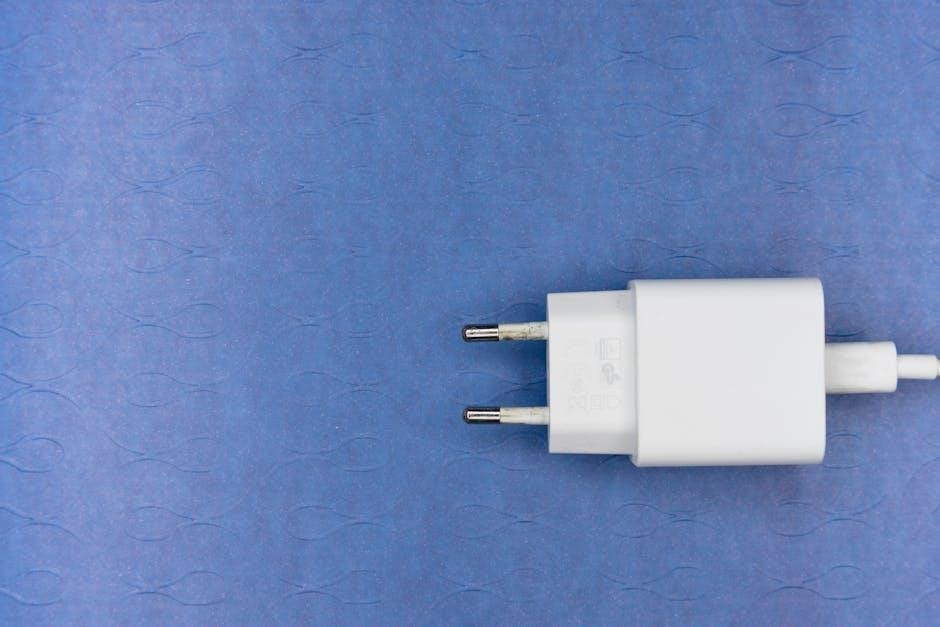
Before first use, it’s crucial to fully charge your Dododuck recorder. Connect the device to a powered USB port using a standard USB cable – a computer or wall adapter will work perfectly. A red LED indicator will illuminate during charging; this light will change to green once fully charged. Charging typically takes around 2-3 hours.
To power on the recorder, press and hold the power button located on the side of the device for approximately 3 seconds. A short vibration and a blue LED flash will confirm that the device is now active. Recent Bing search interface tests demonstrate shifting layouts, mirroring the need to understand device functions. Ensure the device is fully charged before attempting any recording; Low battery levels can interrupt recordings.
Connecting to a Computer
To transfer recordings or update the device’s firmware, connect the Dododuck recorder to your computer using a standard USB cable. The device should automatically be recognized as a removable storage device, similar to a USB flash drive. If it doesn’t appear immediately, try a different USB port or restart your computer.
Bing’s evolving search results, including related searches, highlight the importance of easy data access. Once connected, you can browse the recorder’s files using your computer’s file explorer (Windows) or Finder (Mac). No additional drivers are typically required, however, occasionally, a brief installation may occur. Ensure the device is properly ejected from your computer before disconnecting the USB cable to prevent data corruption.
Software Installation (if applicable)
Depending on the Dododuck model, dedicated software may be required for advanced features like time stamping, voice activation, or firmware updates; Check the package contents or the manufacturer’s website for installation instructions and download links. The software installation process is generally straightforward, involving running an executable file and following the on-screen prompts.
Recent Bing search interface tests demonstrate a focus on user experience, paralleling the need for intuitive software. After installation, connect the recorder to your computer; the software should automatically detect the device. Ensure your computer meets the minimum system requirements before installing the software. Always download software from official sources to avoid malware or security risks.
Recording Functionality
Explore diverse recording modes, adjust quality settings, and utilize the Dododuck’s simple controls; Bing’s evolving search features mirror a focus on user control.
Recording Modes and Quality Settings
The Dododuck USB Charger Recorder offers several recording modes to suit various needs. Users can select between continuous recording, activated by simply plugging in the device, and motion-activated recording, conserving storage space by only capturing audio when movement is detected nearby. This feature is particularly useful for surveillance purposes where constant audio isn’t necessary.
Quality settings are adjustable, allowing a trade-off between file size and audio clarity. Higher quality settings, while producing more detailed recordings, consume more storage. Lower settings are ideal for extended recording times when storage is limited. The manual details specific bitrate options and their corresponding recording durations based on the internal memory capacity. Experimentation is encouraged to find the optimal balance for individual requirements.
Recent observations regarding Bing’s related search updates demonstrate a similar focus on user customization, offering varied interfaces and search suggestions, mirroring the Dododuck’s adaptable recording options.
Starting and Stopping Recordings
Initiating a recording with the Dododuck is remarkably simple. For continuous recording, simply connect the device to a powered USB port. A small LED indicator will illuminate, confirming active recording. Motion-activated recording begins automatically when movement is sensed within range, as detailed in the manual’s sensitivity settings section.
Stopping a recording depends on the mode. Continuous recordings cease when the USB connection is removed. Motion-activated recordings will pause when no motion is detected for a pre-defined period. The manual emphasizes the importance of manually saving recordings before disconnecting the device to prevent potential data loss. A dedicated button press, as illustrated in the diagrams, ensures secure file storage.
Interestingly, Bing’s evolving search interfaces, like the Dododuck’s operation, prioritize user control – offering options to start, stop, and refine search results.
File Formats and Storage Capacity
The Dododuck primarily records audio in the WAV format, ensuring high fidelity and compatibility across various playback devices. Some models may also support MP3 compression for extended recording times, as detailed within the device’s specifications. The manual clearly outlines how to select your preferred format via the configuration software.
Storage capacity varies depending on the model, ranging from 8GB to 32GB of internal flash memory. An 8GB device can typically store several hours of high-quality WAV recordings. The manual provides a chart estimating recording durations based on format and quality settings. Regularly transferring files to a computer is recommended to free up space and prevent overwriting older recordings.
Similar to Bing’s vast index of web documents, the Dododuck offers substantial storage for capturing important audio information.

Accessing and Managing Recordings
The manual details file transfer methods, playback options, and deletion procedures; Bing’s related searches similarly guide users to relevant information quickly.
Transferring Files to a Computer
Connecting the Dododuck to your computer is typically achieved via a standard USB cable. The device will appear as a removable drive, much like a USB flash drive. Ensure your computer recognizes the device before attempting to access the files. Once recognized, navigate to the drive in your file explorer (Windows) or Finder (Mac).
Recordings are usually stored in a dedicated folder on the device. The manual will specify the exact folder name and location. Simply copy and paste the desired files from the Dododuck to a folder on your computer for safekeeping and easy access. Remember to eject the device safely from your computer before physically disconnecting it, preventing potential data corruption. Similar to Bing’s search results, a smooth transfer process is crucial for efficient use.
File Playback Options
Once transferred to your computer, Dododuck recordings can be played using a variety of media players. Common options include Windows Media Player, VLC Media Player, and QuickTime Player (on Mac). The supported file format – typically WAV or MP3 – will determine compatibility. VLC is often recommended due to its broad codec support and versatility.
Ensure you have the appropriate codecs installed if you encounter playback issues. Additionally, the Dododuck manual may recommend specific software for optimal playback quality. Consider using audio editing software for further manipulation, such as noise reduction or volume adjustment. Just as Bing offers multiple search tools, you have options for enjoying your recordings. Experiment to find what works best for you and your system.
Deleting Recordings
To delete recordings from the Dododuck, first connect the device to your computer and access the files through File Explorer (Windows) or Finder (Mac). Locate the recordings, usually stored in a designated folder. Select the files you wish to remove and press the Delete key, or right-click and choose “Delete”. Confirm the deletion when prompted.
Be cautious, as deleted files are typically not recoverable from the device itself. Regularly managing your storage space is recommended to prevent the recorder from filling up. Similar to Bing’s evolving search features, managing your Dododuck’s files requires periodic maintenance. Always refer to the official manual for specific instructions, as deletion methods may vary depending on the firmware version. Ensure you have backed up any important recordings before deleting them.

Troubleshooting Common Issues
Resolve Dododuck problems by checking connections, software compatibility, and file integrity; Bing’s search updates mirror the need for consistent device maintenance.
Device Not Recognizing
If your computer fails to recognize the Dododuck recorder, begin with basic checks. Ensure the USB cable is securely connected to both the recorder and a functioning USB port on your computer. Try different USB ports, as some may provide insufficient power or data transfer.
Next, verify that the Dododuck has sufficient charge. A low battery can prevent proper recognition. Connect it to a power source for a short period and re-attempt the connection. Consider testing the device on another computer to rule out computer-specific issues. Bing’s evolving search results highlight the importance of reliable connectivity, much like a functioning USB connection for your recorder. Finally, check your computer’s device manager to see if the Dododuck appears with a driver error; updating or reinstalling the driver may resolve the problem.
Poor Audio Quality
Experiencing subpar audio quality with your Dododuck recorder? Several factors can contribute to this issue. First, ensure the recorder is positioned close to the sound source. Distance significantly impacts recording clarity. Check for obstructions between the recorder and the speaker, as these can muffle the sound.
Secondly, verify the recording mode and quality settings. Higher quality settings consume more storage but deliver superior audio. Experiment with different settings to find the optimal balance. Like Bing’s constant refinement of search results, adjusting recorder settings is key. Also, examine the surrounding environment for sources of interference, such as fans or air conditioners. Finally, test with different headphones or speakers to rule out playback equipment issues.
Recording Errors
Encountering recording errors with your Dododuck USB charger recorder can be frustrating. Common causes include insufficient storage space; ensure the device has adequate memory available. Check the file system compatibility with your computer, as formatting issues can prevent proper recording. Similar to Bing’s ongoing tests with search interfaces, compatibility is crucial.
Another potential problem is a corrupted firmware; attempt a reset to factory defaults (refer to the manual for instructions). Verify the date and time settings are correct, as incorrect timestamps can cause errors. If the device fails to start recording, try reconnecting it to a power source. Finally, avoid interrupting the recording process, as this can result in incomplete or corrupted files. Consult the troubleshooting section of the manual for specific error codes.