The Quebec Antiques Price Guide offers a comprehensive overview of valuable historical items, providing detailed pricing, identification tips, and market trends for collectors and enthusiasts alike.
Overview of Quebec Antiques
Quebec antiques reflect the province’s rich cultural heritage, blending French and British colonial influences. These items, ranging from furniture and decorative arts to collectibles, showcase the region’s historical craftsmanship. Key categories include wooden furniture, ceramics, and textiles, often characterized by intricate designs and practicality. The “Guide des antiquités québécoises” by Michel Ste-Marie is a trusted resource, offering detailed descriptions and pricing for over 2,300 objects. Local dealers and online marketplaces like AbeBooks and Les Antiquités Bolduc provide access to these treasures. Whether for collectors or enthusiasts, Quebec antiques are cherished for their historical significance and aesthetic value, making them a cornerstone of Canadian cultural and material history.
Importance of a Price Guide
A price guide for Quebec antiques is essential for both collectors and sellers, offering a clear understanding of market values and trends. It helps identify authentic pieces, compare styles, and assess rarity, ensuring informed decisions. Resources like Michel Ste-Marie’s “Guide des antiquités québécoises” provide detailed pricing and practical advice, aiding in the identification of valuable items. These guides also reveal market demands, such as the popularity of 18th-century furniture or rare ceramics. By consulting trusted sources, buyers and sellers can navigate the complex antique market with confidence, ensuring fair transactions and preserving the value of Quebec’s cultural heritage for future generations.
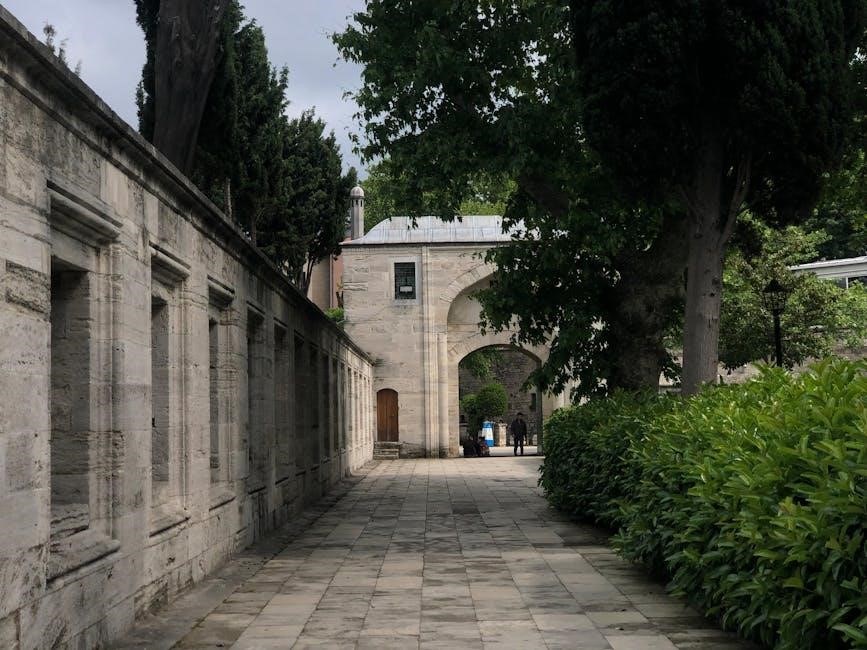
Historical Context of Quebec Antiques
Quebec antiques reflect the province’s rich colonial history, blending French and British influences, with pieces like 18th-century furniture and rare ceramics showcasing its cultural heritage.
French Colonial Influence
Quebec antiques heavily reflect French colonial influence, particularly in furniture and decorative arts. Pieces like armoires, buffets, and vaisseliers showcase intricate carvings and classic designs. The use of local woods such as walnut and pine was prevalent, blending functionality with elegance. French craftsmanship brought ornate details, such as gilded accents and religious motifs, which became hallmarks of Quebec’s antique heritage. These items, often passed down through generations, highlight the enduring legacy of French colonial aesthetics. Collectors prize these pieces for their historical significance and artisanal quality, as documented in guides like Michel Ste-Marie’s Guide des antiquités québécoises, which provides insights into their value and cultural importance.
British Colonial Influence
British colonial influence in Quebec antiques emerged after the French regime, introducing new design elements and materials. Furniture from this period often features Georgian and Victorian styles, with clean lines and symmetrical proportions. Woods like oak and mahogany were commonly used, reflecting British preferences. Decorative elements such as inlays and intricate moldings became more prominent. Functional yet elegant pieces, such as sideboards and armchairs, highlight the practicality of British design. These antiques often blend with earlier French influences, creating a unique hybrid style. The market for British-influenced Quebec antiques remains robust, with collectors valuing their historical significance and craftsmanship. Price guides, such as Michel Ste-Marie’s works, provide insights into their value and authenticity.

Key Categories of Quebec Antiques
Quebec antiques are categorized into furniture, decorative arts, and collectibles, each reflecting the province’s rich cultural heritage and craftsmanship, essential for collectors and historians alike.
Furniture
Quebec antiques furniture showcases the province’s rich historical craftsmanship, with pieces like armoires, buffets, and tables reflecting French and British colonial influences. These items, often made from durable woods such as oak and pine, highlight intricate carvings and functional designs. The furniture category is highly sought after by collectors for its blend of practicality and artistic detail. Michel Ste-Marie’s guide emphasizes the importance of identifying period-specific styles and materials. Prices vary based on rarity, condition, and provenance, with exceptional pieces commanding premium values. This section provides detailed insights into the evolution of Quebec furniture, making it an invaluable resource for enthusiasts and historians alike.
Decorative Arts
Quebec’s decorative arts encompass a wide range of items, including ceramics, glassware, and sculptures, reflecting the province’s cultural heritage. These pieces often highlight the craftsmanship of local artisans, blending French and British influences. Ceramics and glassware from Quebec are particularly sought after for their unique designs and historical significance; The price guide provides detailed insights into the value of these items, considering factors such as rarity, condition, and artistic merit. Collectors and enthusiasts can use this resource to identify authentic pieces and understand market trends. Decorative arts in Quebec antiques offer a glimpse into the region’s artistic evolution, making them highly desirable for both historical and aesthetic reasons.
Collectibles
Collectibles in Quebec antiques include pottery, stoneware, textiles, and metalware, each offering unique insights into the province’s cultural and historical identity. These items, often crafted with precision, reflect the daily lives and traditions of past generations. The price guide provides detailed descriptions and valuations, helping collectors identify rare and valuable pieces. Factors such as age, condition, and provenance significantly influence pricing. Textiles, like vintage quilts, and metalware, such as antique hardware, are particularly popular among enthusiasts. The guide also highlights emerging trends, with certain collectibles gaining prominence in international markets; This section serves as an essential resource for both seasoned collectors and newcomers seeking to understand the value and significance of Quebec’s collectible treasures.
Furniture in Quebec Antiques
Quebec antique furniture, such as armoires and tables, is highly sought after for its craftsmanship and historical significance. Michel Ste-Marie’s guide details their origins, uses, and pricing.
Bedroom Furniture
Quebec antique bedroom furniture, such as armoires and beds, reflects French and British colonial influences. These pieces, often made from local woods like pine and maple, showcase intricate carvings and hardware. Michel Ste-Marie’s guide highlights their historical significance and provides detailed pricing based on condition and rarity. Armoires, with their ornate designs, are particularly sought after, while beds often feature sturdy craftsmanship. The guide emphasizes how these items, dating back to the 18th and 19th centuries, are not only functional but also valuable collector’s pieces. Prices vary widely, ranging from a few hundred to several thousand dollars, depending on age, condition, and provenance. Collectors and enthusiasts rely on such guides to make informed decisions in the growing market for Quebec antiques.
Dining and Kitchen Furniture
Quebec antique dining and kitchen furniture, such as tables, chairs, buffets, and cabinets, often showcases French and British colonial influences. Crafted from local woods like pine and maple, these pieces feature intricate carvings and hardware. Michel Ste-Marie’s guide provides detailed pricing for these items, highlighting their historical significance. Dining tables and chairs, often with ornate details, are highly sought after by collectors. Kitchen furniture, such as wooden cabinets and countertops, reflects practical craftsmanship. Prices vary based on condition, age, and provenance, ranging from a few hundred to several thousand dollars. These pieces are not only functional but also hold cultural value, making them treasured additions to any collection. The guide is essential for enthusiasts navigating the market for Quebec antiques.
Occasional Furniture
Quebec antique occasional furniture includes pieces like wooden chests, benches, and shelves, reflecting the province’s craftsmanship and cultural heritage. These items, often made from pine or maple, were designed for practical use while showcasing decorative elements. Michel Ste-Marie’s guide highlights their historical significance and market value. Prices for occasional furniture vary widely, with chests and benches ranging from $200 to $1,500, depending on condition and rarity. These pieces are highly sought after for their unique blend of functionality and aesthetic appeal. Collectors appreciate their ability to add character to modern spaces while preserving Quebec’s artisanal legacy. The guide provides essential insights for evaluating and purchasing these timeless items.

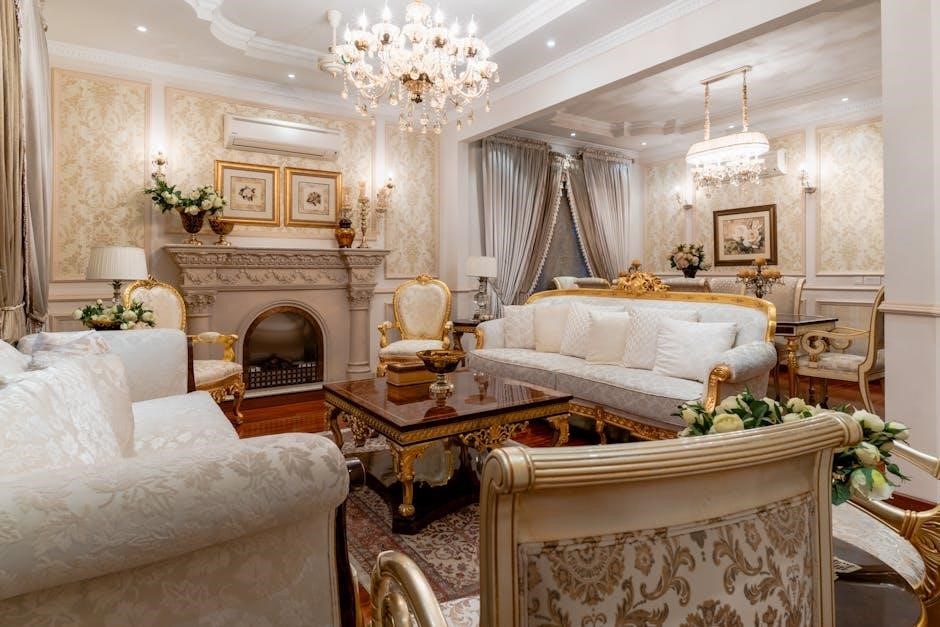
Decorative Arts in Quebec Antiques
Quebec’s decorative arts showcase a rich cultural heritage, featuring ceramics, glassware, and textiles. These pieces reflect French and British influences, offering insights into the province’s artisanal history and craftsmanship.
Paintings and Sculptures
Paintings and sculptures are treasured elements in Quebec antiques, reflecting the province’s rich cultural and artistic heritage. Many pieces showcase French and British colonial influences, with religious and rural themes predominating. Notable works include 19th-century portraits and landscapes by Quebecois artists, often created with traditional techniques. Sculptures, particularly those in wood, highlight the region’s mastery of craftsmanship. The Guide des antiquités québécoises by Michel Ste-Marie provides detailed insights into pricing, authenticity, and historical context. These artworks are highly sought after by collectors, with values influenced by provenance, condition, and rarity. They remain vital components of Quebec’s cultural identity and artistic legacy;
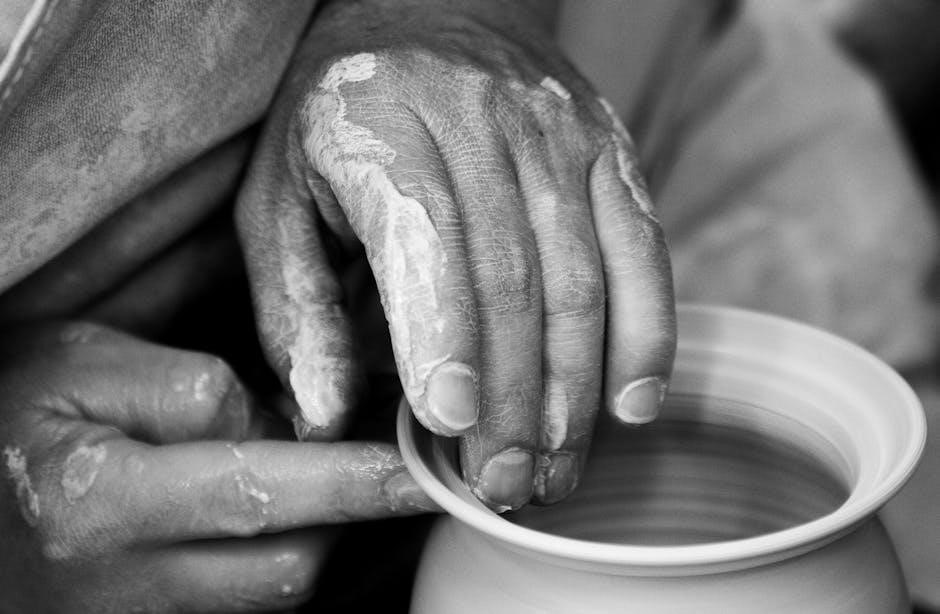
Ceramics and Glassware
Ceramics and glassware are significant categories in Quebec antiques, reflecting the province’s historical craftsmanship and cultural influences. Pottery, such as traditional Quebecois earthenware, and stained glass pieces are highly sought after. These items often feature intricate designs and techniques passed down through generations. The Guide des antiquités québécoises highlights the importance of condition, rarity, and provenance in determining value. Regional pottery, including pieces from the 18th and 19th centuries, is particularly prized for its historical significance. Glassware, such as vintage bottles and decorative items, also holds a place in collections. These pieces not only showcase artistic skill but also provide a glimpse into Quebec’s daily life and traditions over the centuries.

Collectibles in Quebec Antiques
Collectibles, such as textiles, metalware, and pottery, are highly sought after for their historical significance and craftsmanship, offering insights into Quebec’s cultural heritage and daily life.
Pottery and Stoneware
Pottery and stoneware are significant collectibles in Quebec antiques, reflecting the province’s rich craftsmanship and cultural heritage. These pieces, often handmade, showcase traditional techniques passed down through generations. Early Quebec pottery frequently features practical designs, such as household vessels and storage containers, while stoneware items were prized for their durability and artistic detail. Collectors value these pieces for their historical significance and the insight they provide into daily life in earlier centuries. Prices vary based on condition, rarity, and provenance, with well-preserved items commanding higher values. Online marketplaces and specialized guides, like Michel Ste-Marie’s Guide des antiquités québécoises, offer valuable resources for identifying and pricing these treasures.
Textiles and Quilts
Textiles and quilts are cherished collectibles in Quebec antiques, offering a glimpse into the province’s artisanal traditions and domestic life. Handmade quilts, often crafted for functionality and warmth, are highly sought after for their intricate patterns and emotional significance. Traditional textiles, such as wool blankets and linen clothing, highlight the resourcefulness of early settlers. These items often feature hand-spinning and natural dyes, reflecting the skills of local artisans. Collectors value textiles for their historical and cultural importance, with prices influenced by condition, rarity, and provenance. Well-preserved quilts with unique designs or family histories command premium prices, making them treasured additions to any collection.
Metalware and Hardware
Metalware and hardware are significant categories in Quebec antiques, showcasing the province’s industrial and artisanal heritage. Items like wrought iron tools, copperware, and antique hardware reflect the craftsmanship of early Quebecois blacksmiths and tradespeople. Decorative metal pieces, such as ornate hinges and door handles, often feature intricate designs, making them highly collectible. Religious artifacts, such as crosses and liturgical items, are also sought after for their historical and cultural significance. The condition and rarity of these items greatly influence their value, with restored or well-preserved pieces commanding higher prices. Collectors appreciate these artifacts for their functional beauty and the stories they tell about Quebec’s past.

Price Determining Factors
Provenance, condition, rarity, and market demand are key factors influencing Quebec antique prices. Historical significance and craftsmanship also play significant roles in determining value.
Provenance and History
Provenance and history significantly influence the value of Quebec antiques. Items with documented origins or ties to notable historical figures, events, or estates often command higher prices. For instance, furniture crafted during the French or British colonial periods, or pieces linked to influential Quebec families, are highly sought after. The historical context, such as the item’s role in significant events or its association with cultural movements, enhances its desirability. Experts and collectors emphasize the importance of verifying an item’s provenance through records, signatures, or expert appraisals. A well-documented history not only authenticates the piece but also elevates its market value, making it a cherished possession for collectors and historians alike.
Condition and Rarity
Condition and rarity are critical factors in determining the value of Quebec antiques. Items in exceptional condition, with minimal wear and tear, command higher prices due to their preservation of original craftsmanship. Rare pieces, such as limited-edition furniture or unique decorative arts, are highly sought after by collectors, driving up their value. The scarcity of certain antiques, especially those from specific historical periods, further amplifies their desirability. Professional restoration can enhance an item’s value, but over-restoration may detract from its authenticity. Collectors and appraisers closely examine the state of preservation and the uniqueness of each piece to assess its market worth accurately.

Current Market Trends
Quebec antiques are gaining global attention, with increasing demand from international collectors. Traditional and online marketplaces are thriving, offering rare items and competitive pricing.
Popular Items and Demand
Quebec antiques, such as 19th-century furniture, ceramics, and textiles, are highly sought after by collectors. Items like armoires, tables, and wooden decorative pieces are particularly popular. The demand for Quebec-made pine furniture has increased due to its historical significance and craftsmanship. Additionally, collectibles like vintage pottery and metalware are gaining traction in the market. Online marketplaces have made these items more accessible, driving up their popularity globally. Rare and well-preserved pieces often fetch higher prices, reflecting their cultural and historical value. Buyers are also drawn to items with documented provenance, enhancing their appeal. This growing interest highlights the importance of accurate pricing guides for both collectors and sellers.
Regional Price Variations
Prices for Quebec antiques vary significantly across regions due to factors like location, demand, and availability. Urban areas, such as Montreal and Quebec City, often see higher prices compared to rural regions, where items may be more affordable. Local dealers and marketplaces play a key role in setting prices, with online platforms bridging regional gaps. For instance, rare furniture pieces in high demand in Montreal may fetch premium prices, while similar items in smaller towns could be priced lower. Additionally, regional preferences influence pricing, with certain styles or historical items being more valued in specific areas. This regional diversity highlights the importance of consulting local guides and experts for accurate valuations.

Trusted Price Guides and Resources
Trusted resources like Michel Ste-Marie’s Guide des Antiquités Québécoises and online platforms such as AbeBooks provide reliable pricing and identification tips for Quebec antiques and collectibles.
Recommended Books
Michel Ste-Marie’s Guide des Antiquités Québécoises (Volumes 1 and 2) is a cornerstone for collectors, offering detailed pricing and identification of Quebec antiques; Another essential resource is A La Decouverte Des Antiques Quebecoises by Stephane Moissan, published in 1976, which provides insights into the origins and styles of Quebecois antiques. Additionally, Complete Guide to French-Canadian Antiques by Michel Lessard and Huguette Marquis is a valuable reference for understanding the historical context and market value of items. These books are widely available on platforms like AbeBooks and in specialized antique stores, making them indispensable tools for enthusiasts and professionals alike.
Online Marketplaces
Online platforms like AbeBooks and specialized websites such as Les Antiquités Bolduc offer extensive listings of Quebec antiques, providing detailed descriptions, pricing, and high-quality images. These marketplaces connect buyers with trusted sellers, ensuring authenticity and fair pricing. Additionally, platforms like Antiquité Michel Prince allow for the evaluation and sale of items, catering to both collectors and dealers. Online marketplaces have become essential tools for accessing rare and unique Quebec antiques, enabling users to compare prices and discover trending items. They also provide a convenient way to explore and purchase antiques from the comfort of home, making them indispensable for enthusiasts and professionals alike.
Tips for Buyers and Sellers
Conduct thorough research on market trends and item history. Work with trusted appraisers to ensure accurate valuations. Transparent communication and fair negotiations are key to successful transactions.
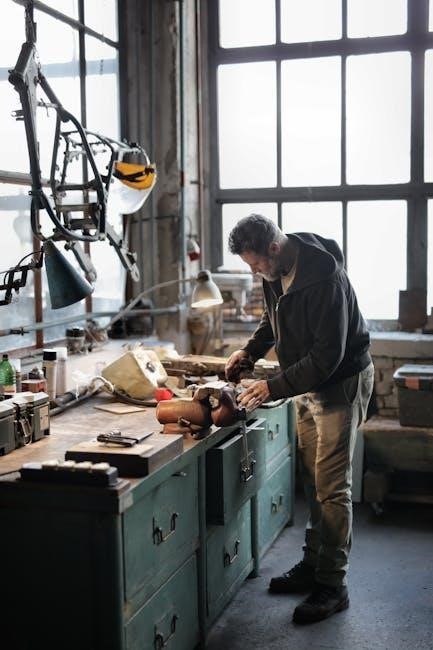
How to Evaluate and Appraise
Evaluating and appraising Quebec antiques requires careful research into provenance, historical context, and condition. Start by examining the item’s materials, construction, and maker’s marks. Consult experts or trusted guides like Michel Ste-Marie’s works to identify styles and eras. Compare similar pieces in price guides or auction catalogs to determine fair market value. Condition greatly impacts value, so note any damage or restoration. Rarity and demand also influence pricing. Consider hiring a professional appraiser for high-value items. Use online marketplaces like AbeBooks or local dealers for reference. Document everything thoroughly to support your appraisal.Finally, stay updated on market trends to ensure accurate and competitive pricing.
Negotiation Strategies
Negotiating the price of Quebec antiques requires a mix of research, tact, and flexibility. Start by researching market values using guides like Michel Ste-Marie’s works to understand fair pricing. Begin with a lower offer than your maximum budget, allowing room for compromise. Build rapport with sellers, whether dealers or private owners, to create a positive dialogue. Highlight any flaws or needed repairs to justify your offer. Be respectful and avoid aggressive bargaining, as it can harm relationships. Consider alternative terms, such as bundling items or payment plans, if applicable. Stay informed about current trends and be prepared to walk away if the price exceeds your budget. Successful negotiation balances fairness for both parties, ensuring a satisfying transaction for buyer and seller alike.
The Quebec Antiques Price Guide serves as an indispensable resource for collectors, enthusiasts, and sellers alike, offering insights into the rich history and cultural heritage embedded in Quebec’s antiques; By providing detailed pricing, identification tips, and market trends, this guide empowers individuals to make informed decisions. Whether you’re a seasoned collector or a new enthusiast, understanding the value of these pieces ensures responsible collecting and selling practices; The guide not only highlights the economic worth of antiques but also preserves the stories and craftsmanship behind each item. Ultimately, it fosters a deeper appreciation for Quebec’s historical treasures, encouraging their preservation for future generations to enjoy and cherish.